Fallout 4 Basic Quest Tutorial One-Time Setup
Overview[edit | edit source]
The most basic kind of quest is the "Fetch Quest". This is typically the player encountering an NPC who asks the player to retrieve an item. This tutorial will teach you how to create a basic Fetch Quest. This quest is written in an action-reaction style. First you see text describing the actions you must perform, along with any explanation for those actions. Next you see a picture, which depicts the CreationKit's reaction.
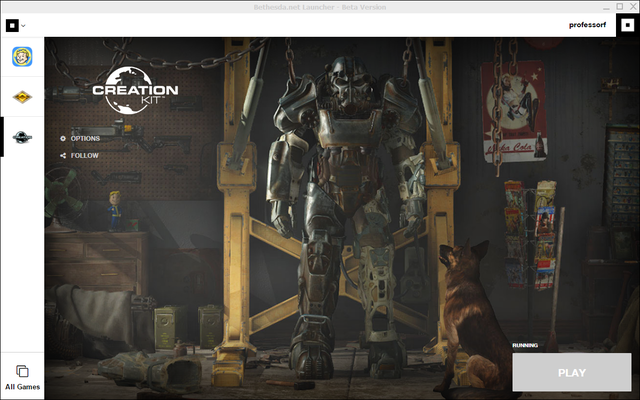
Start up the Creation Kit by running the Bethesda.Net Launcher
Note: I’m assuming:
- You have Fallout 4
- You’ve downloaded the Creation Kit (inside the Bethesda.net Launcher)
- You’ve have signed up for an account on Bethesda and are logged in.
Click the Play button (lower right corner)
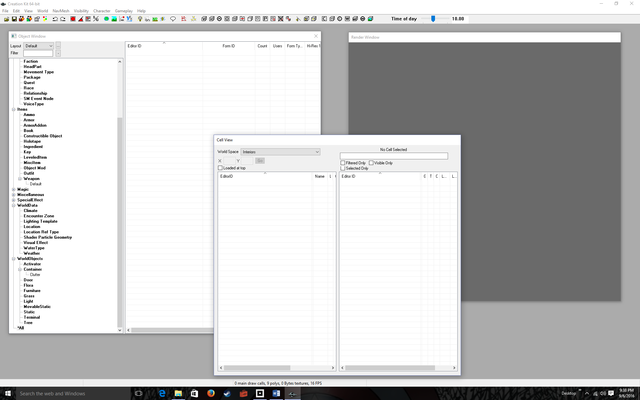
Click OK to any dialogs that pop up Three windows will appear:
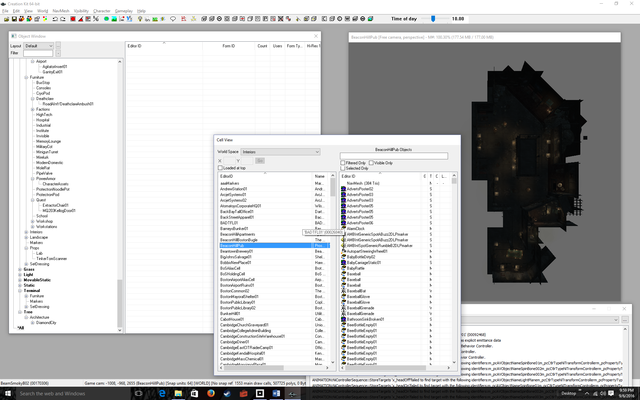
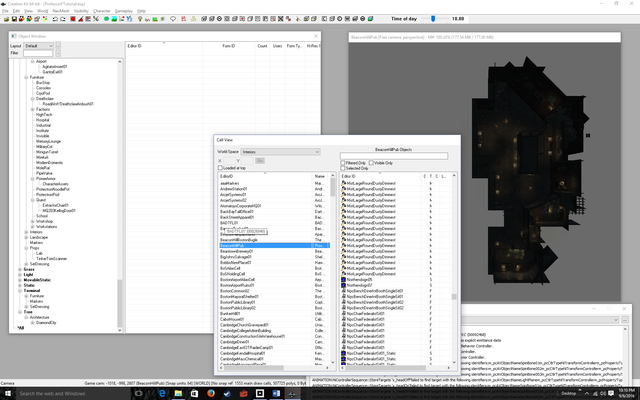
- 'Object Window': Eventually will contain all the objects in the Fallout 4 world. Basically, everything you see in the game has an object that is referenced here
- 'Cell View': Specific “cells” in the world, like rooms and towns
- 'Render Window': Displays the current cell you’re editing
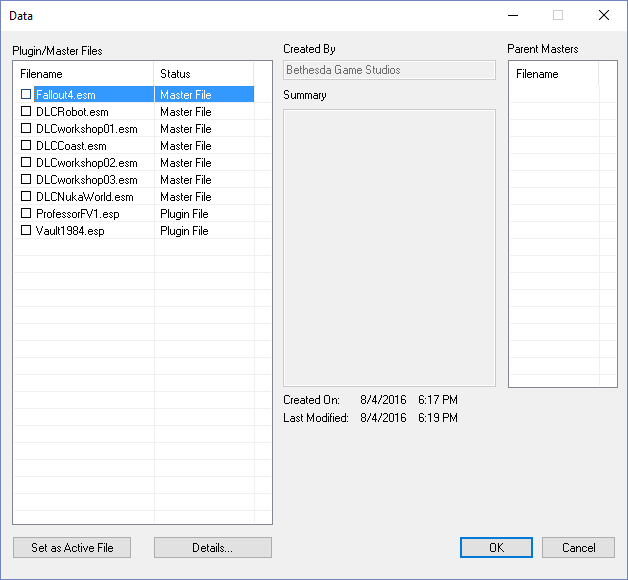
Menu-Select File > Data…
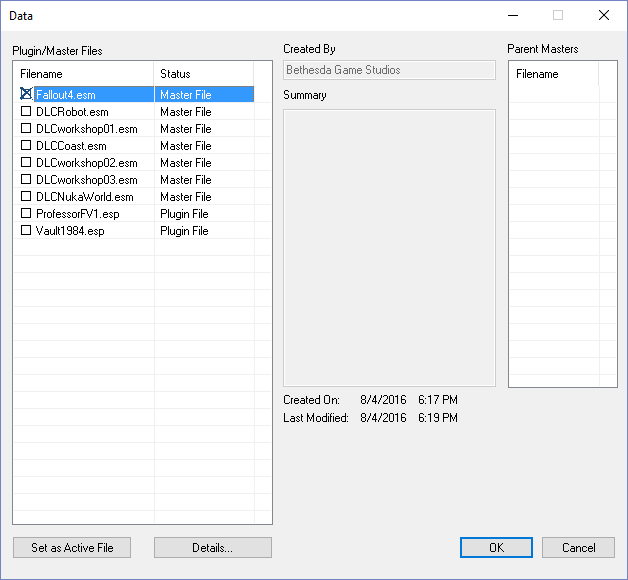
Double-click the Fallout4.esm
Click the OK button
Note that the Object Window and Cell View windows are populated with data representing the objects in the Fallout 4 world. There is also a warnings windows filled with warning messages. Ignore all of them.
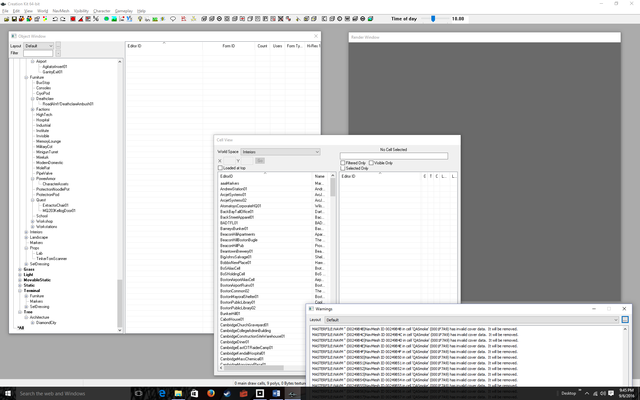
Double-Click on any item in the left list in the Cell View Window
This brings up the object in the Render Windows.
For example if you double-click on BeaconHillPub, you’ll see it appear in the Render Window
To navigate the Render Window:
- Mouse wheel zooms in and out
- Holding down the mouse wheel while dragging the mouse, pans
- Holding down the Shift-Key while dragging the mouse rotates
- If you click on an object in the render window, Shift-Key (mouse move) rotates around that object
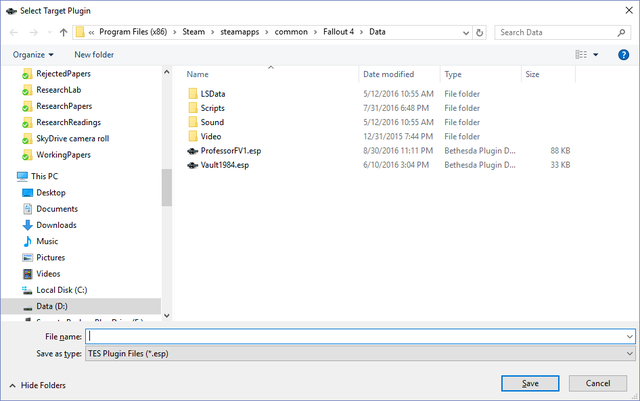
Menu-Select File > Save
Type in a File name
I typed ProfessorFTutorial, but you should choose something easy to remember like YournameTutorial. The filename doesn’t have to end in Tutorial, I just chose that because this is a tutorial!
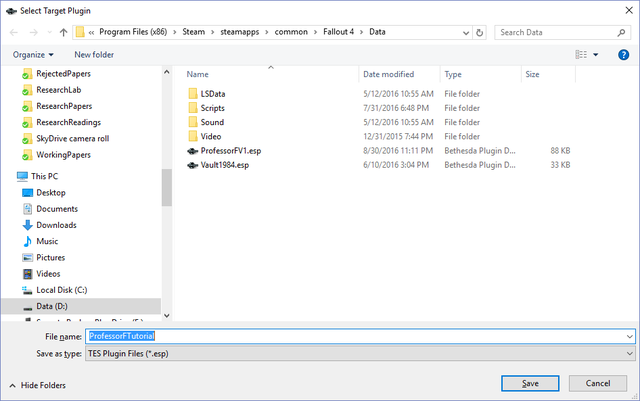
Click the Save button
Note that the title bar of your Window is whatever you named your file in the previous step.
You’re done creating your first mod! It doesn’t do anything interesting, it’s just a copy of Fallout 4.
But it’s the starting point.
Go to the next tutorial to load your mod into Fallout 4.
IMPORTANT: Enable Loose Files[edit | edit source]
This step throws everyone off. If you don't enable loose files, your quest changes will NOT be loaded. To enable loose files:
- Open\Create the file : <Documents>\My Games\Fallout 4\Fallout4Custom.ini
- Populate the Fallout4Custom.ini file with the following:
[Archive]
bInvalidateOlderFiles=1
sResourceDataDirsFinal=
Next: Simple Fetch Quest tutorial[edit | edit source]
Now you have finished the set-up, click here for step one in creating your own fetch quest.
